This article contains setting up your Shopify store with GS
Client specific inputs
The client key is unique to each company or brand and is required for all our widgets to identify the company and load the correct widgets and data. Replace the CLIENT_ID with the client Key in all the widgets. The client key is provided separately.
Create a private app
1. Log in to your Shopify admin. You can see your dashboard then click on apps

2. Click Apps > Apps and sales channels.

3. Click Develop apps.

4. If custom app development is not enabled, click Allow custom app development.
5. Click Create a custom app.

6. Enter a name for your app (name as ‘Green Story', email navodit@greenstory.ca)

7. Select the app developer. The app developer can be the store owner, or any staff or collaborator account with the Develop apps permission.
8. Click Create app.

9. Once this done it will land into a dashboard

10. Once you have created your app, you will need to configure its permissions. You can do this by clicking Configure Admin API scopes. The following are some of the most common permissions that you may need to grant your app:
Read products: This permission allows your app to read product data, such as the product name, description, and price. (Select read-only access to ‘Products, variants and collections’ item. For all remaining items select no access)
Read orders: This permission allows your app to read order data, such as the order number, total amount, and shipping address.
Read customers: This permission allows your app to read customer data, such as the customer's name, email address, and shipping address.

11. Once you have configured your app's permissions, you can install it on your Shopify store. To do this, click Install app and follow the instructions.

12. After you have installed your app, you can start using it to extend the functionality of your Shopify store
13. Now copy all security code send it to your customer relationship manager over email

14. You can watch the video bellow
Add Greenstory JS File
Add the Greenstory JS file in the <head> section of the theme.liquid file
(Required if Greenstory app is not installed on the store – Only for new clients or new stores after 1- Jan - 2021)

Embed Carbon Neutral Widget Code in Shopify Liquid Files
1. Add theme settings to enable/disable Greenstory carbon neutral widgets.
Add the in below code at the bottom of settings_schema.json file

2. Carbon neutral brand summary visual widget
The carbon neutral brand summary has two design templates available. One with lightbox and another without lightbox. These can be used based on the available space.
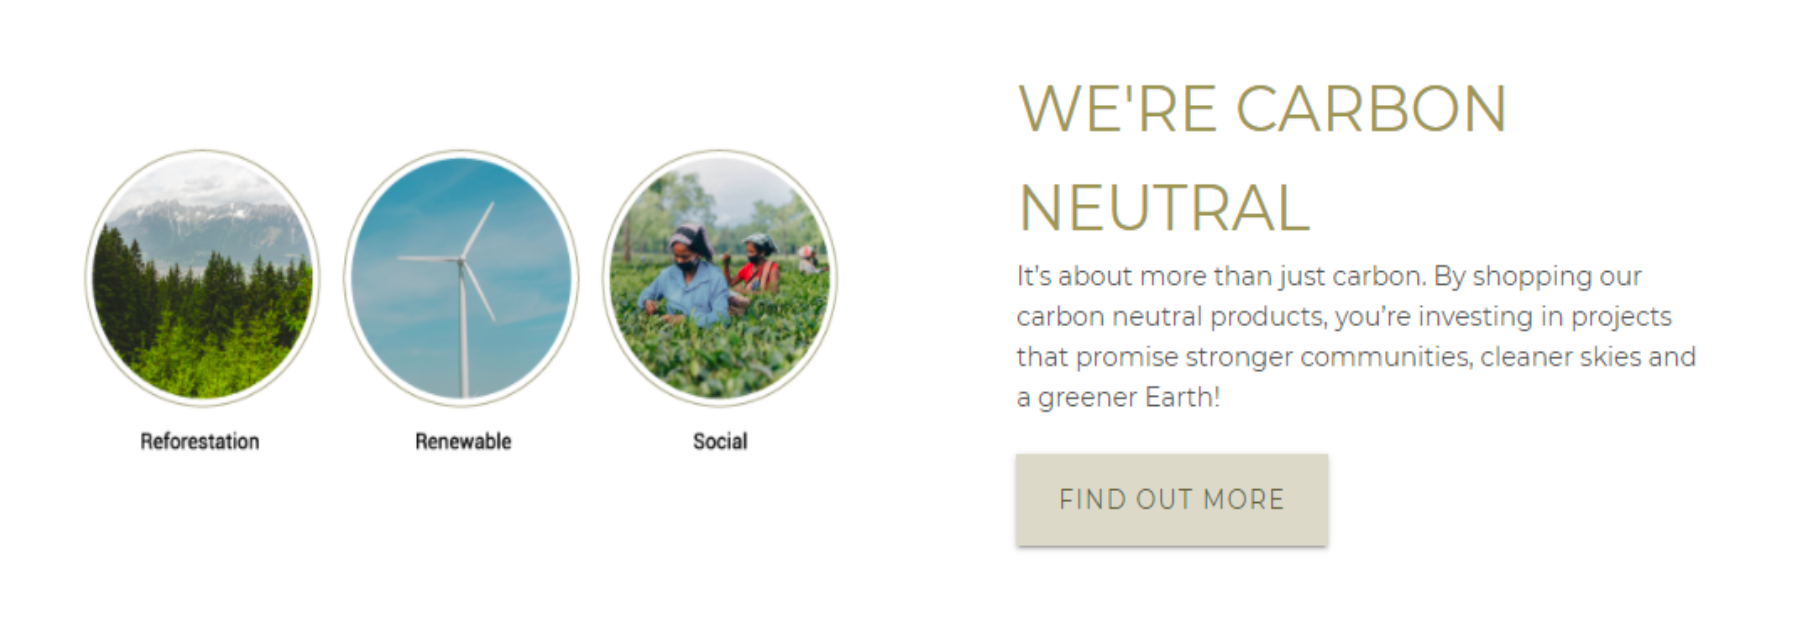
a. Lightbox enabled brand summary visual widget - Sample Visual

Instructions for adding to homepage.
- Create a new section with name ‘greenstory-offset-summary-widget’
- Add the following code to this section. Replace the CLIENT_ID with client key.

3. Go to Themes > Customize and click on ‘Add Section’
4. Go to Custom Content and select ‘Greenstory Offset Summary’. This will add the section to the Homepage.
5. Drag it to the desired section location on the homepage and save.
Instructions for adding to other pages.
Add the following code at the exact location on the page where the visual needs to be rendered. Replace the CLIENT_ID with client key.

b. Full page offset brand summary visual widget - Sample visual

Instructions
Add the following code at the exact location on the page where the visual needs to be rendered. Replace the CLIENT_ID with client key.

3. Carbon neutral product visual widget - Sample visual

Instructions
- Create a new snipped with recommended name ‘greenstory-offset-widget’
- Add the following code to this snippet. Replace the CLIENT_ID with client key.
- Include the snippet in sections/product-template.liquid (or similar file depending on the theme) where the carbon offset product visual is to be displayed using the following code.
‘{% render 'greenstory-offset-widget' %}’.

Embedding Impact Savings Widget Code in Shopify Liquid Files
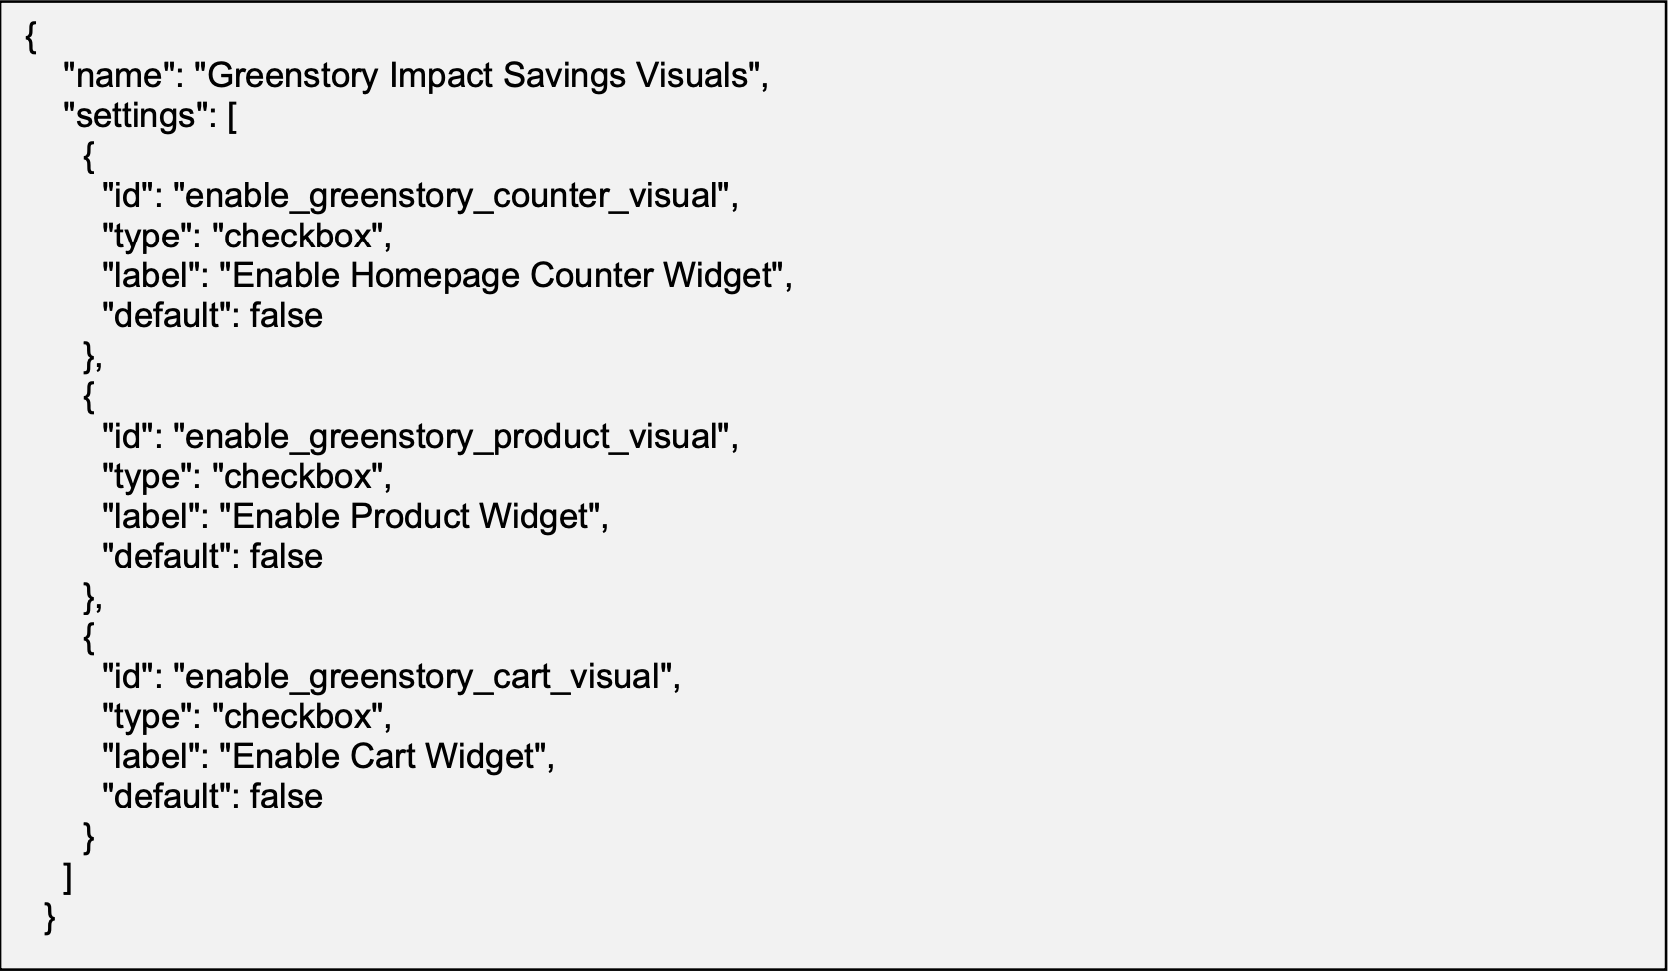
1. Add theme settings to enable/disable Greenstory widgets.
Add the in below code at the bottom

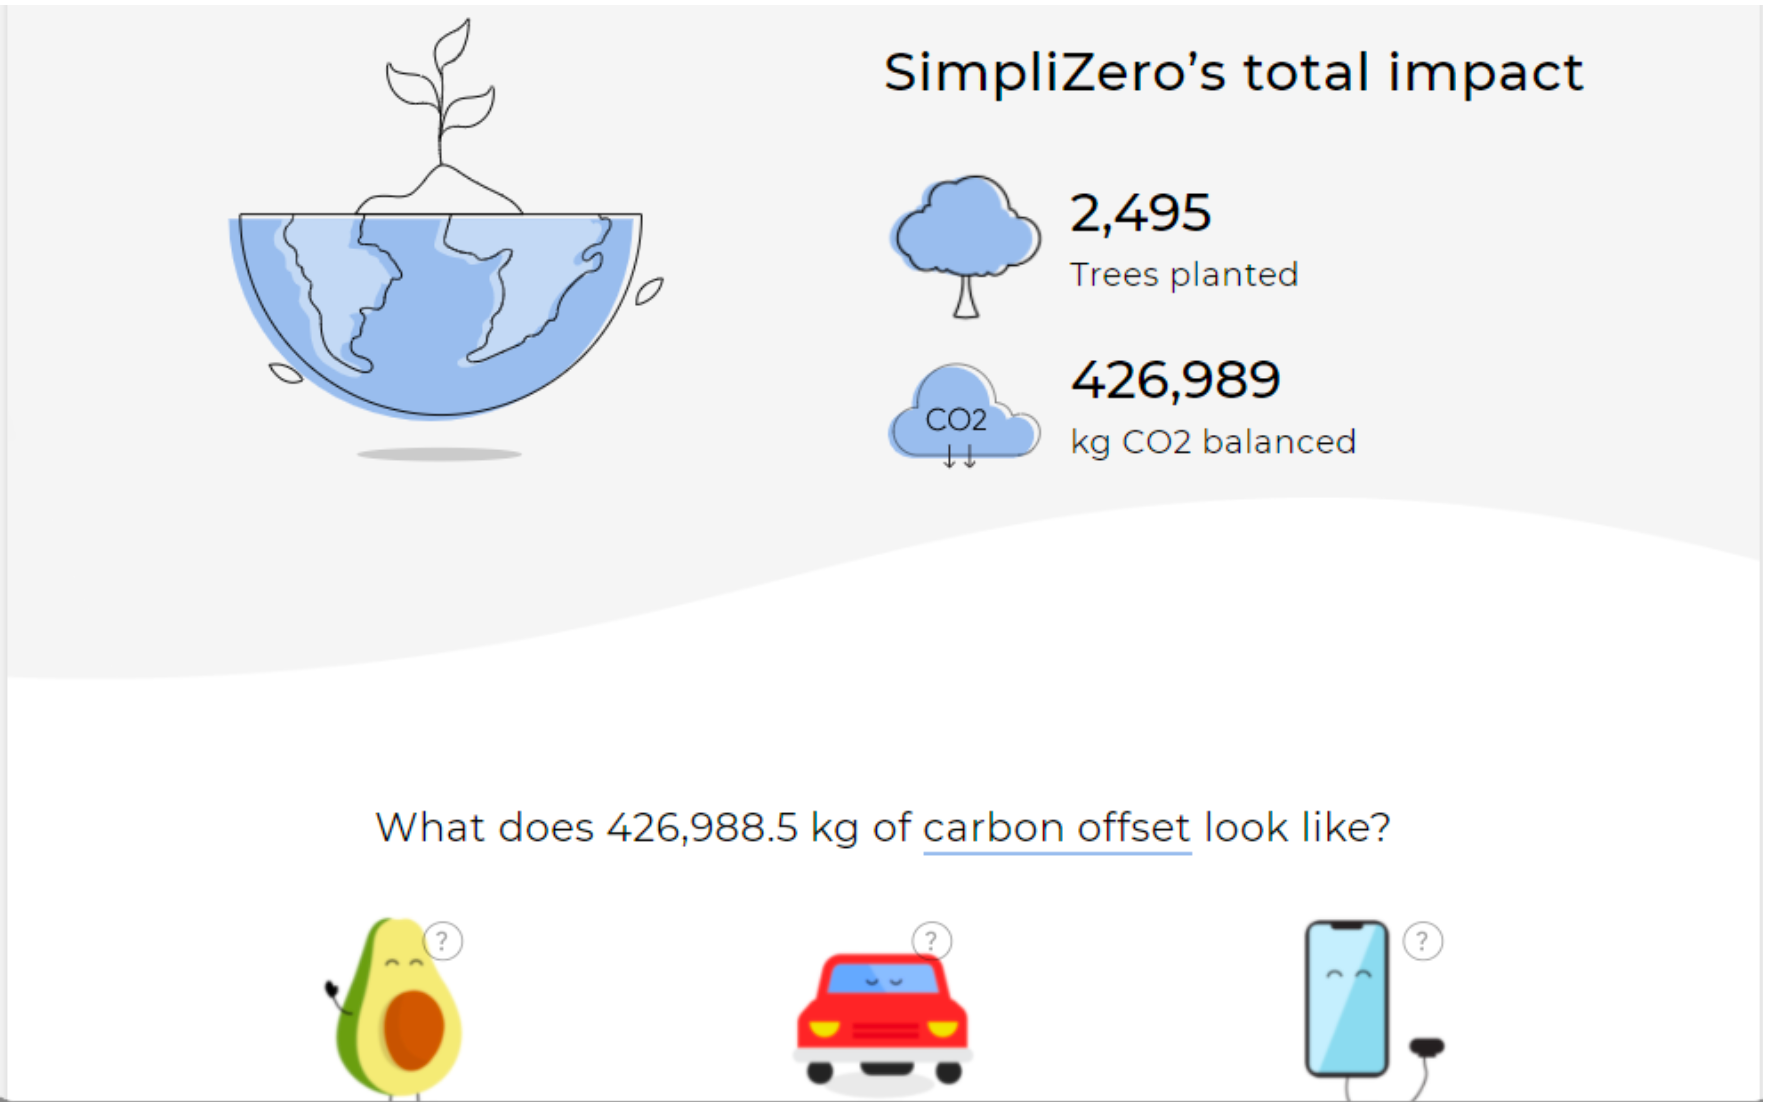
2. Homepage counter visual widget - sample visual

Instructions
- Create a new section with name ‘greenstory-counter-widget’
- Add the following code to this section. Replace the CLIENT_ID with client key.

- Go to Themes > Customize and click on Add Section
- Go to Custom Content and select ‘Greenstory Counter’. This will add the section to the Homepage.
- Drag it to the desired section location on the homepage and save.
3. Product visual widget

Instructions
- Create a new snipped with recommended name ‘greenstory-product-widget’
- Add the following code to this snippet. Replace the CLIENT_ID with client key.

3. Include the snippet in sections/product-template.liquid (or similar file depending on the theme) where the carbon offset product visual is to be displayed using the following code ‘{% render 'greenstory-product-widget' %}’.
4. Add the class listener in the quantity input box and Add and Remove product item buttons to show all the impact for current selected items
4. Cart visual widget - Sample visual

Instructions
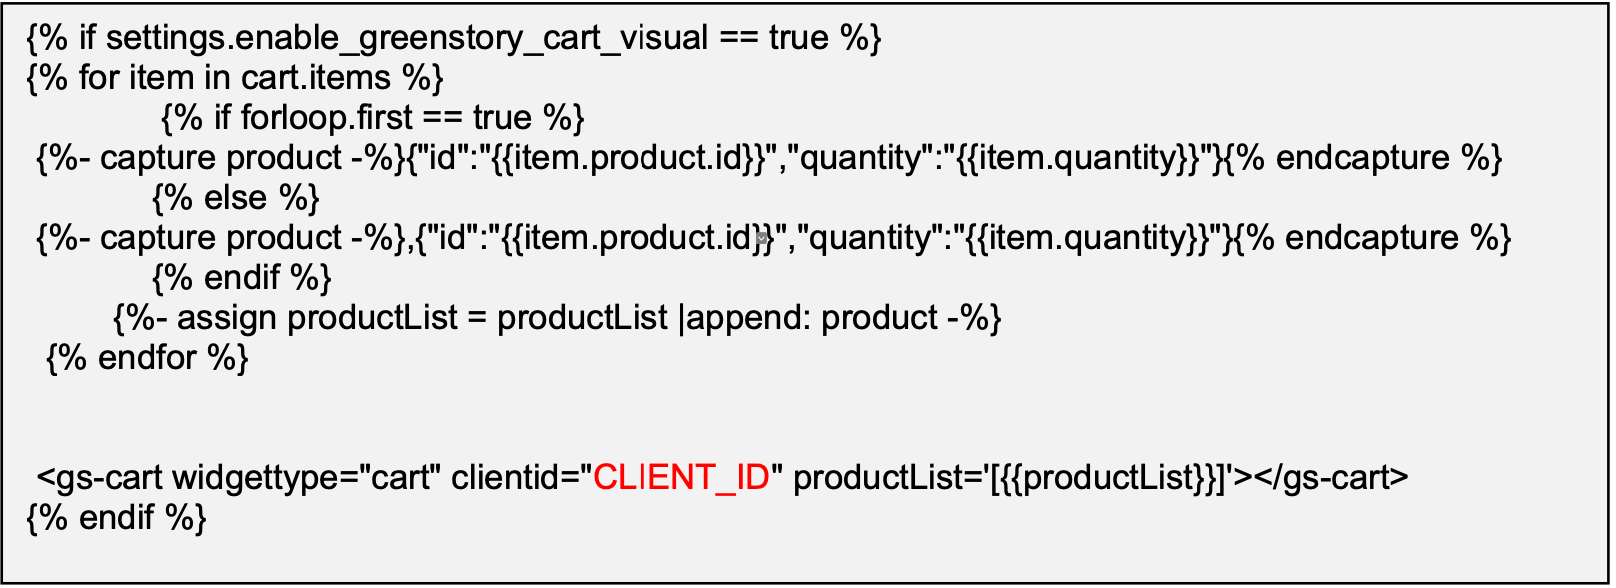
- Create a new snipped with recommended name ‘greenstory-cart-widget’
- Add the following code to this snippet. Replace the CLIENT_ID with client key.

3. Include the snippet at the correct location in the templates/cart.liquid file where the cart visual is to be displayed using the following code ‘{% include 'greenstory-cart-widget' %}’.
4. (Optional) Alternate Approach to use the cart widget
a) add the cartListener attribute in the greenstory cart widget script tag like shown below cartListener="true"
Note: setTimeout interval can be removed if page refresh doesn't impact the widget code.
5. (Optional) When the cart widget values is not update either adding or removing the cart item
Add the class listener in the quantity input box and Add and Remove buttons and also add the data-productid attribute
Example:
Enabling all the widgets
By default, all widgets are disabled. They can be enabled by going to
- For carbon neutral visuals: Themes > Customize > Theme Settings > Greenstory Offset Visuals
- For impact savings visuals: Themes > Customize > Theme Settings > Greenstory Impact savings visuals

(Only required if Greenstory app not installed – New clients joined after 1-Jan-2021)
Greenstory receives customer order details using Shopify Webhooks. Below are the details to setup webhooks to send order information to Greenstory.
Webhook Setup Location - Settings > Notifications > Webhooks (at the bottom of the page)
1. Order Notification Webhook
Click on Create Webhook and add a webhook with following details.
Webhook Event – Order Creation
Callback URL - https://store-sync-service.greenstory.ca/api/webhooks/clients/save-order
Format: JSON
2. Product Notification Webhook
Click on Create Webhook and add a webhook with following details.
- Webhook Event – Product Creation
- Callback URL https://storeservice.greenstory.ca/api/webhooks/clients/save-products
- Format: JSON
Carbon Neutral Link in the Order Confirmation Email
Greenstory generates personalized details along with certificate of the carbon offsetting for each individual order. These details are accessible via a dynamic link which can be embedded in Order Confirmation email (via Shopify or any other email provider).
Important: This link should be added just before go-live of the carbon neutral functionality
- Go to Settings > Notifications > Order confirmation email template.
- Add the code in the information in the table
Custom Carbon Neutral section in email: This link can be used if the link is to be embedded in a custom html section/button designed by the brand.

Greenstory Standard Carbon Neutral section in email: Below code can be used to embed Greenstory’s standard carbon neutral section in email along with the link to the carbon neutral details page 

Was this article helpful?
That’s Great!
Thank you for your feedback
Sorry! We couldn't be helpful
Thank you for your feedback
Feedback sent
We appreciate your effort and will try to fix the article
